 FA+
FA+
1427
Views
Views
126
Favorites
Favorites
Category
Artwork (Traditional) / Muscle
Species Wolf
Size 877 x 1280
File Size 190 kB
Report this content
More from kira_animerawr


I took pictures while I was doing this one to show you the steps I took to color it.
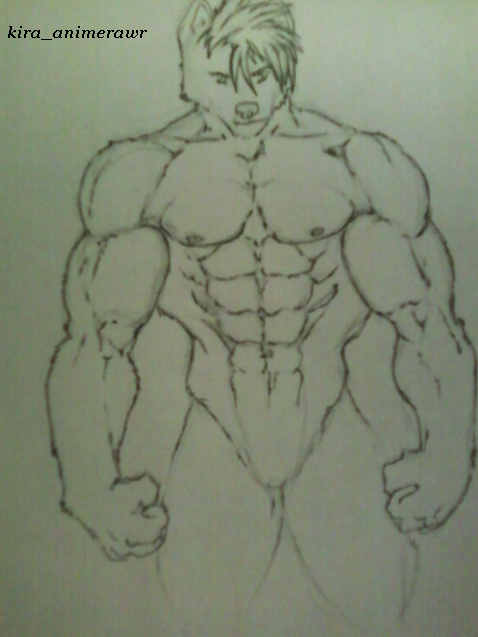
1) Sketch/Ink. Make sure that your inked lines are bold, it just makes it easier to color inside the lines, but is not a necessity. Erase the pencil so that the marker stays vibrant.
http://i230.photobucket.com/albums/.....ial1inking.png
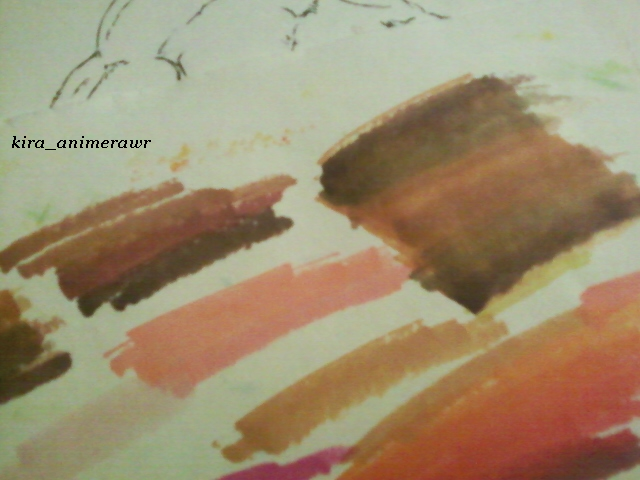
2) Decide which color combinations you will use. Use a scrap piece of paper and make marks with the tones you want to use to make sure that they work good together to make good tones.
http://i230.photobucket.com/albums/.....olorchoice.png
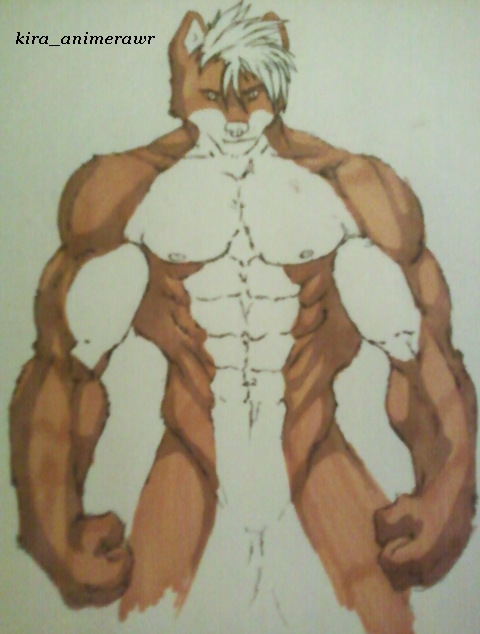
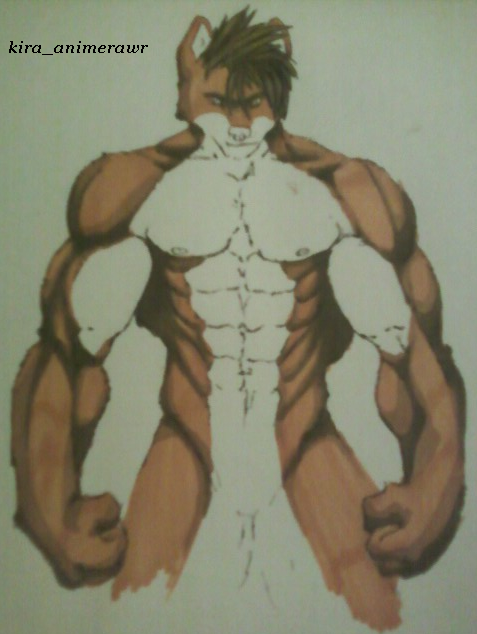
3) Start coloring, I like to do the topfur color on Trayton first because the gray will be easier. For this one I used a light brown for the flat coloring of his top fur. The color was Burnt Ochre and is alittle too orange for Trayton's fur color.. (I usually use Goldenrod for the under coloring).
4) Use the next darker color to create shadows, you can use alot of this color because the darker shadows will bring in the creases of his muscles more. I think I used the color Light Tan.
http://i230.photobucket.com/albums/.....ningshadow.png
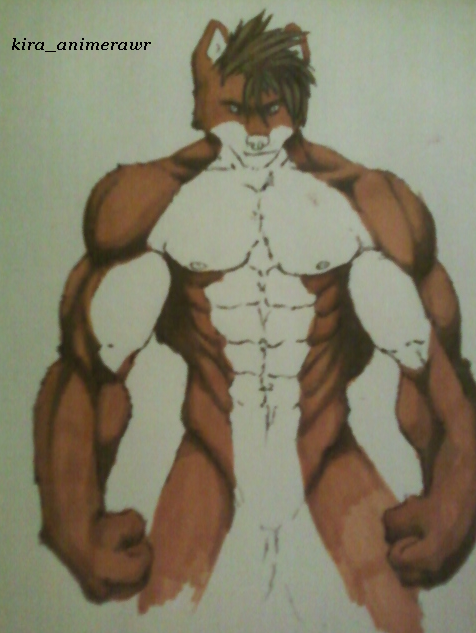
5) Add the darker shadows, make sure to keep it within the 1st set of shadows you added (4). But you can still keep these alittle wider too.
I think I used the color Dark Brown.
http://i230.photobucket.com/albums/.....moreshadow.png
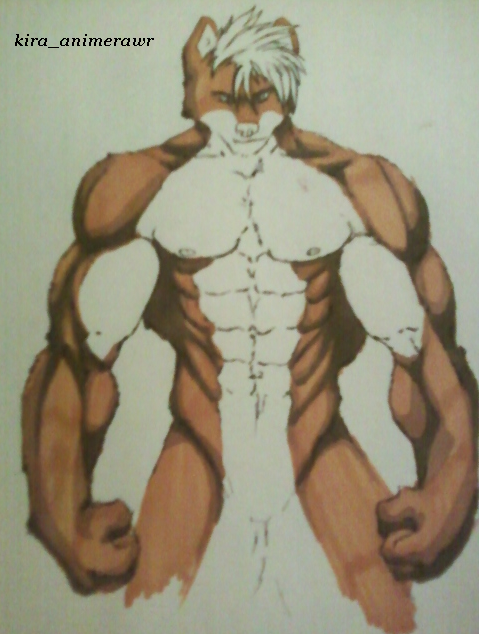
6) Add even darker shadows, but keep these closer to the creases of the muscles and where light shouldn't fall. I used the color Light Umber. I also colored in the hair with the same color then added Dark Umber for some of the shadowing.
http://i230.photobucket.com/albums/.....6shadowing.png
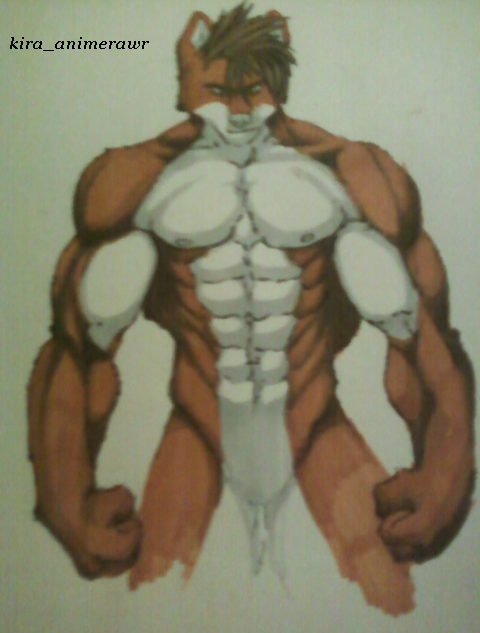
7) This step is crucial in my coloring style. Next you have to use the lightest color that you put down 1st. (step 3) Color Burnt Ochre in mine. And you have to go over the entire area again to smooth out the lines of the shadows.
http://i230.photobucket.com/albums/.....topshading.png
8) Add the light gray for the shadows of the white, be sure to keep them fairly close to where you put the shading in the top fur.
I used Cool Gray 30%.
http://i230.photobucket.com/albums/.....inninggray.png
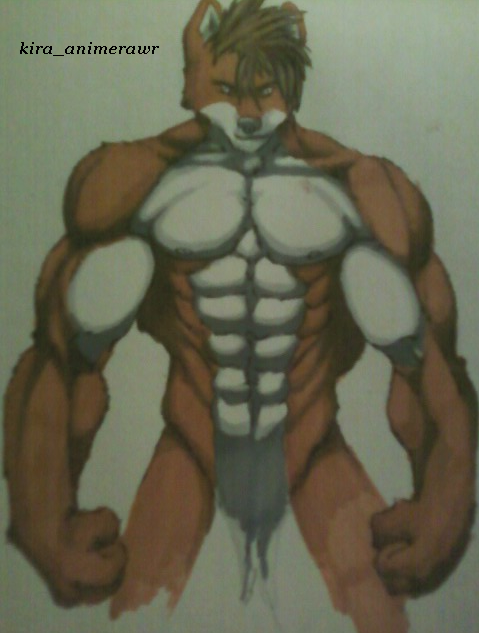
9) Add the dark gray for the darker shadows of the white. Remember to keep the dark gray inside of the light gray and in the correct places. I used Cool Gray 60%.
http://i230.photobucket.com/albums/.....yshadowing.png
And finally (as seen in this picture), you use the Light gray again and cover the area that you had colored with it before to smooth between the dark gray and the light gray.
(:P I hoped this helped someone.. lol.)
Art by me
Trayton belongs to me
Enjoy~!
1) Sketch/Ink. Make sure that your inked lines are bold, it just makes it easier to color inside the lines, but is not a necessity. Erase the pencil so that the marker stays vibrant.
http://i230.photobucket.com/albums/.....ial1inking.png
2) Decide which color combinations you will use. Use a scrap piece of paper and make marks with the tones you want to use to make sure that they work good together to make good tones.
http://i230.photobucket.com/albums/.....olorchoice.png
3) Start coloring, I like to do the topfur color on Trayton first because the gray will be easier. For this one I used a light brown for the flat coloring of his top fur. The color was Burnt Ochre and is alittle too orange for Trayton's fur color.. (I usually use Goldenrod for the under coloring).
4) Use the next darker color to create shadows, you can use alot of this color because the darker shadows will bring in the creases of his muscles more. I think I used the color Light Tan.
http://i230.photobucket.com/albums/.....ningshadow.png
5) Add the darker shadows, make sure to keep it within the 1st set of shadows you added (4). But you can still keep these alittle wider too.
I think I used the color Dark Brown.
http://i230.photobucket.com/albums/.....moreshadow.png
6) Add even darker shadows, but keep these closer to the creases of the muscles and where light shouldn't fall. I used the color Light Umber. I also colored in the hair with the same color then added Dark Umber for some of the shadowing.
http://i230.photobucket.com/albums/.....6shadowing.png
7) This step is crucial in my coloring style. Next you have to use the lightest color that you put down 1st. (step 3) Color Burnt Ochre in mine. And you have to go over the entire area again to smooth out the lines of the shadows.
http://i230.photobucket.com/albums/.....topshading.png
8) Add the light gray for the shadows of the white, be sure to keep them fairly close to where you put the shading in the top fur.
I used Cool Gray 30%.
http://i230.photobucket.com/albums/.....inninggray.png
9) Add the dark gray for the darker shadows of the white. Remember to keep the dark gray inside of the light gray and in the correct places. I used Cool Gray 60%.
http://i230.photobucket.com/albums/.....yshadowing.png
And finally (as seen in this picture), you use the Light gray again and cover the area that you had colored with it before to smooth between the dark gray and the light gray.
(:P I hoped this helped someone.. lol.)
Art by me
Trayton belongs to me
Enjoy~!
Category Artwork (Traditional) / Muscle
Species Wolf
Size 877 x 1280px
File Size 190 kB


Comments