 FA+
FA+
Ghostbustin' for Halloween? [Stage 2]
13 years ago
Update time!
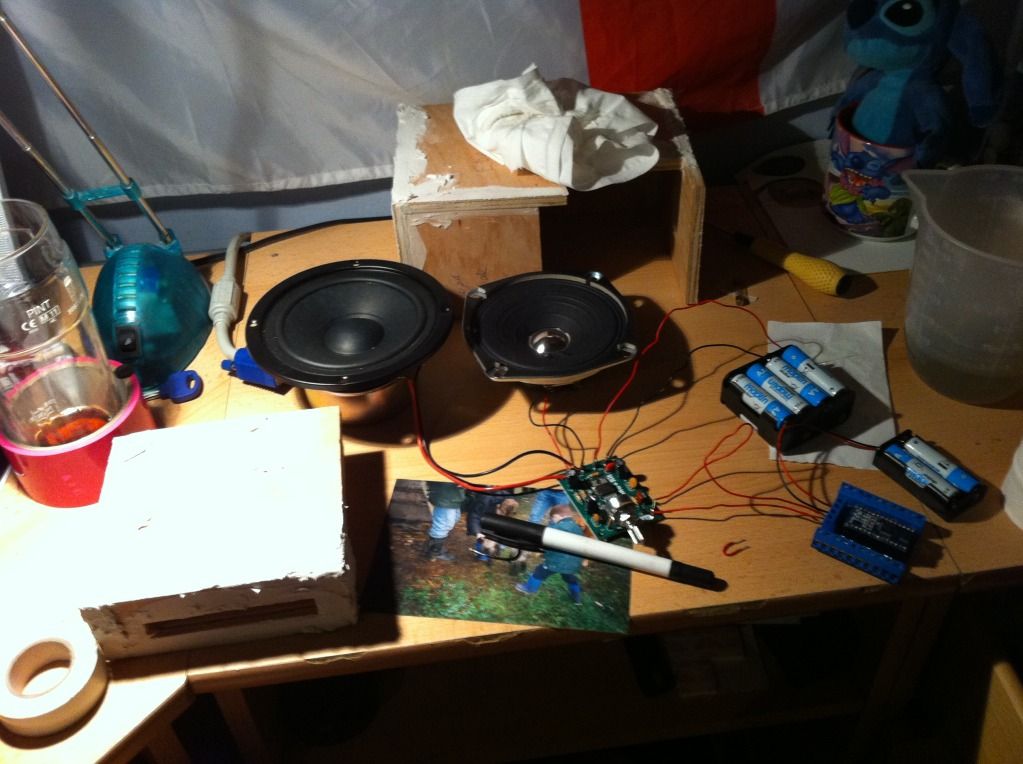
So after much drawing out, cutting and gluing. I finally have some bits ready for the filling and sanding stage. It all seems to be going rather well. Photos should show ya what I mean...
New amplifier unit showed up yesterday too so was testing that... 120db. That sounds more like it!
http://i225.photobucket.com/albums/.....C/IMG_1080.jpg
http://i225.photobucket.com/albums/.....C/IMG_1084.jpg
http://i225.photobucket.com/albums/.....C/IMG_1083.jpg
Started more work on the frame and Cyclotron cover. New newly painted and weld lined. Pringles can bought purely for the N filter base.
http://i225.photobucket.com/albums/.....C/IMG_1078.jpg
http://i225.photobucket.com/albums/.....C/IMG_1079.jpg
and together..
http://i225.photobucket.com/albums/.....C/IMG_1087.jpg
http://i225.photobucket.com/albums/.....C/IMG_1088.jpg
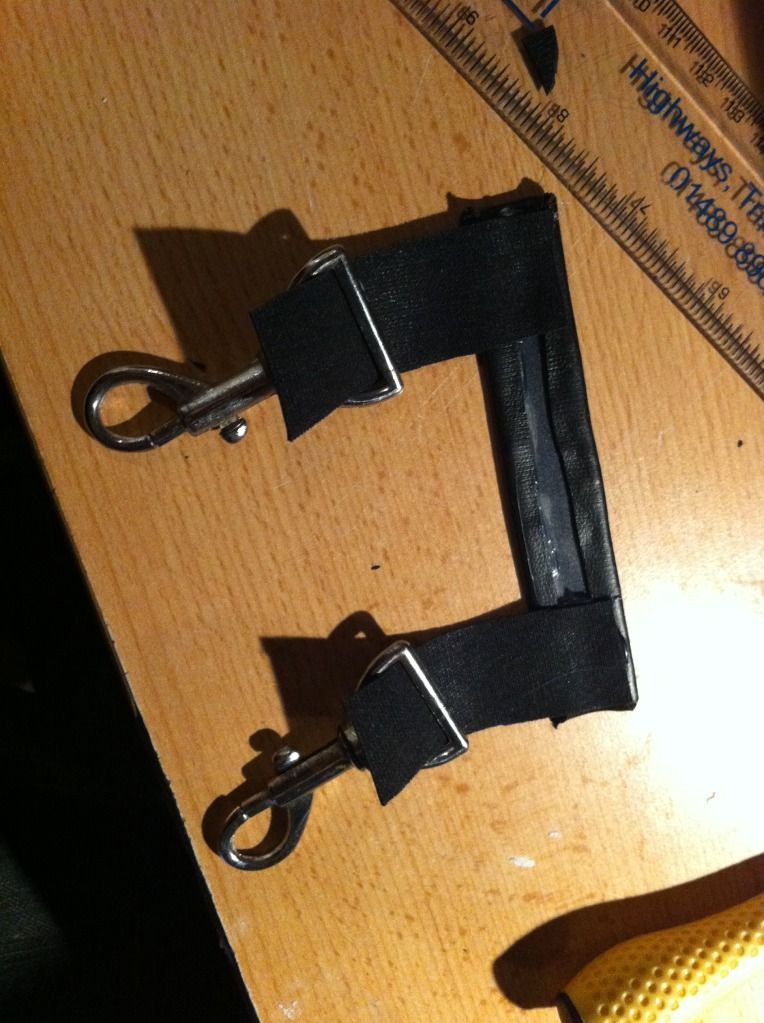
Whilst all this dried I thought about wearing the Trap pedal and hose on the main kit belt. So I added clip hooks to the pedal itself and a new belt clipset.
http://i225.photobucket.com/albums/.....C/IMG_1089.jpg
http://i225.photobucket.com/albums/.....C/IMG_1090.jpg
Finished!
http://i225.photobucket.com/albums/.....C/IMG_1095.jpg
PLANS AND MESS >.<
http://i225.photobucket.com/albums/.....C/IMG_1094.jpg
I decided I really like the design of the ghostbusters video game PASS alarm. So begins the work in replicating it..
http://i225.photobucket.com/albums/.....C/IMG_1092.jpg
By the end of that night this is what I had.
http://i225.photobucket.com/albums/.....C/IMG_1091.jpg
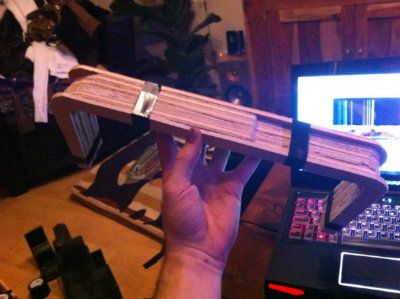
OK! new day new tasks. Spent the morning looking for new things to use on the pack. Found some bits that will prove very useful in the coming week. Filled and sanded down the last few parts to the top left assembly of the pack. Only the booster rail and beading left to go till the final touches can be put into place. After which I can start channeling for the electronics to be installed.
Got the Lighting system and sound up and running. Check the vid below for the progress!
http://www.youtube.com/watch?v=f6Yr.....;feature=g-upl
So. Then comes the daunting task of starting the bumper. After drawing it out in it's various layers I used a WORX multitool to cut each section out and glue them together. Held tight they are set aside to dry and stick. once complete I will begin filling and sanding prep.
http://i225.photobucket.com/albums/.....C/IMG_1096.jpg
http://i225.photobucket.com/albums/.....C/IMG_1097.jpg
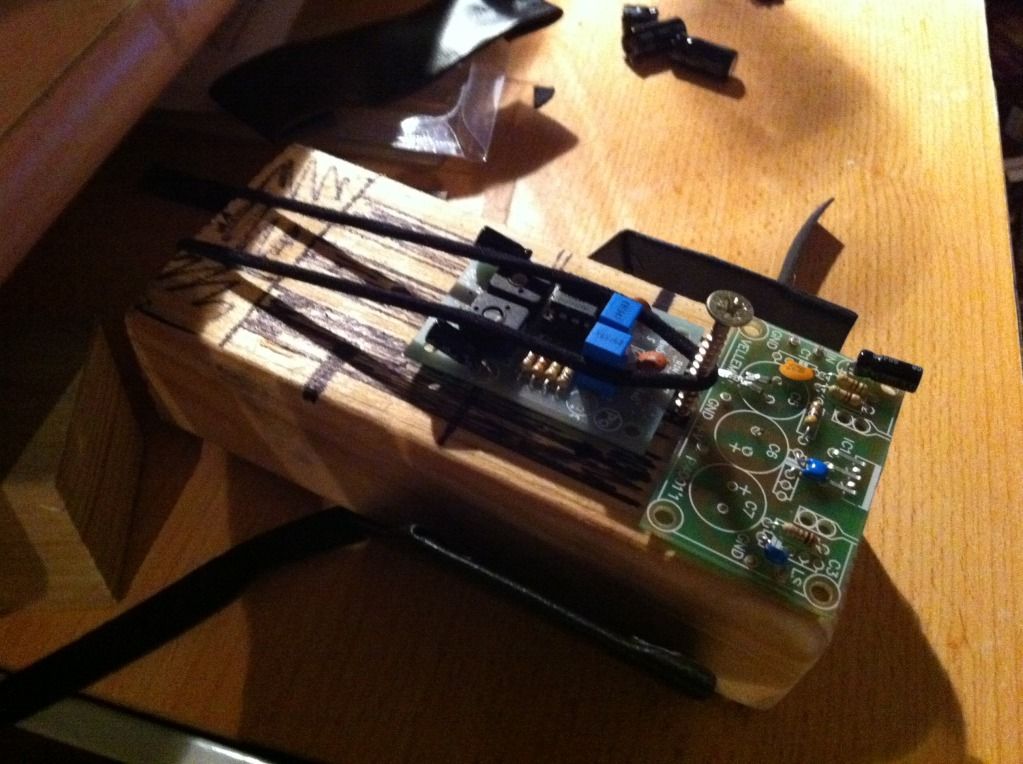
Drawn out and cut, the Gearbox assy box has now been glued together but isn't holding too well so I will have to coat it in hot glue to get a more solid finish. This part needs to remain hollow in order for me to mount the amplifier and volume control.
Once that was complete I finished the sanding of the various parts for the top left gear section and gave them the first 2 layers of paint. Positioned them together and stood back to see how they look without the motherboard.
http://i225.photobucket.com/albums/.....C/IMG_1098.jpg
http://i225.photobucket.com/albums/.....C/IMG_1099.jpg
Well that was all the time I managed to grab this weekend. But over the week I will be adding more and more. Hopefully after next week a finished product and video will be on show!
So after much drawing out, cutting and gluing. I finally have some bits ready for the filling and sanding stage. It all seems to be going rather well. Photos should show ya what I mean...
New amplifier unit showed up yesterday too so was testing that... 120db. That sounds more like it!
http://i225.photobucket.com/albums/.....C/IMG_1080.jpg
http://i225.photobucket.com/albums/.....C/IMG_1084.jpg
http://i225.photobucket.com/albums/.....C/IMG_1083.jpg
Started more work on the frame and Cyclotron cover. New newly painted and weld lined. Pringles can bought purely for the N filter base.
http://i225.photobucket.com/albums/.....C/IMG_1078.jpg
http://i225.photobucket.com/albums/.....C/IMG_1079.jpg
and together..
http://i225.photobucket.com/albums/.....C/IMG_1087.jpg
http://i225.photobucket.com/albums/.....C/IMG_1088.jpg
Whilst all this dried I thought about wearing the Trap pedal and hose on the main kit belt. So I added clip hooks to the pedal itself and a new belt clipset.
http://i225.photobucket.com/albums/.....C/IMG_1089.jpg
http://i225.photobucket.com/albums/.....C/IMG_1090.jpg
Finished!
http://i225.photobucket.com/albums/.....C/IMG_1095.jpg
PLANS AND MESS >.<
http://i225.photobucket.com/albums/.....C/IMG_1094.jpg
I decided I really like the design of the ghostbusters video game PASS alarm. So begins the work in replicating it..
http://i225.photobucket.com/albums/.....C/IMG_1092.jpg
By the end of that night this is what I had.
http://i225.photobucket.com/albums/.....C/IMG_1091.jpg
OK! new day new tasks. Spent the morning looking for new things to use on the pack. Found some bits that will prove very useful in the coming week. Filled and sanded down the last few parts to the top left assembly of the pack. Only the booster rail and beading left to go till the final touches can be put into place. After which I can start channeling for the electronics to be installed.
Got the Lighting system and sound up and running. Check the vid below for the progress!
http://www.youtube.com/watch?v=f6Yr.....;feature=g-upl
So. Then comes the daunting task of starting the bumper. After drawing it out in it's various layers I used a WORX multitool to cut each section out and glue them together. Held tight they are set aside to dry and stick. once complete I will begin filling and sanding prep.
http://i225.photobucket.com/albums/.....C/IMG_1096.jpg
http://i225.photobucket.com/albums/.....C/IMG_1097.jpg
Drawn out and cut, the Gearbox assy box has now been glued together but isn't holding too well so I will have to coat it in hot glue to get a more solid finish. This part needs to remain hollow in order for me to mount the amplifier and volume control.
Once that was complete I finished the sanding of the various parts for the top left gear section and gave them the first 2 layers of paint. Positioned them together and stood back to see how they look without the motherboard.
http://i225.photobucket.com/albums/.....C/IMG_1098.jpg
http://i225.photobucket.com/albums/.....C/IMG_1099.jpg
Well that was all the time I managed to grab this weekend. But over the week I will be adding more and more. Hopefully after next week a finished product and video will be on show!

J_Dawg
~jdawg

KIGENSABER
~remusshadowcast
OP
awwwww cheers bro. Love ya!!!